During a new laptop build, I had issues with syntax validation for PHP in VS Code. Most online guides show how to set this up by using WAMP, XAMPP or other packages to implement a full stack locally. For most, using WAMP is likely the easiest solution.
However, for me that’s not desired, as I prefer a minimal setup of VS Code but with solid PHP syntax validation locally. I also don’t want to use MariaDB, as my sites all use MySQL.
Download & Install Visual Studio Code
Go to https://code.visualstudio.com/ and scroll down to the download section:
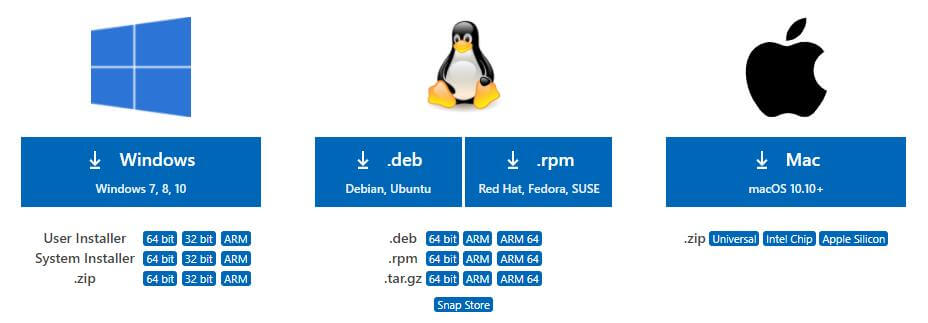
Select the System Installer if you’re the only person using the PC. If there are multiple users who want different settings, select the User Installer instead. Apart from settings management the two versions have the same functions and features.
Install PHP on Windows 10
Download the latest PHP 8 x64 Thread Safe zipped up file from windows.php.net/downloads.php.
Create folder C:\php and extract the zip archive into this location. You should now have php.exe and a number of other files in this location:

Edit PHP Configuration
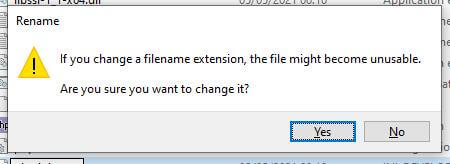
The default php.ini configuration file doesn’t exist in the downloaded package, so copy & rename php.ini-development to php.ini. Select Yes on the dialogue that pops up:
There will be a number of edits required in the php.ini file, use any text editor.
Enable PHP Extensions
Enable any required extensions you want to use, by removing the ; (semi-colon) in front of the line. Some common defaults:
extension=curl
extension=gd
extension=mbstring
extension=pdo_mysql
extension=exif
extension=mysqli
extension=openssl
Add C:\php to PATH
Without php in the PATH, Windows can’t find the executable so it needs to be added.
Go to Windows Start then type ‘environment’. Select Edit the system environment variables.
Then select the Advanced tab and the Environment Variables button.
Scroll down the System Variables options and select Path and then Edit.
Click New and add C:\php.
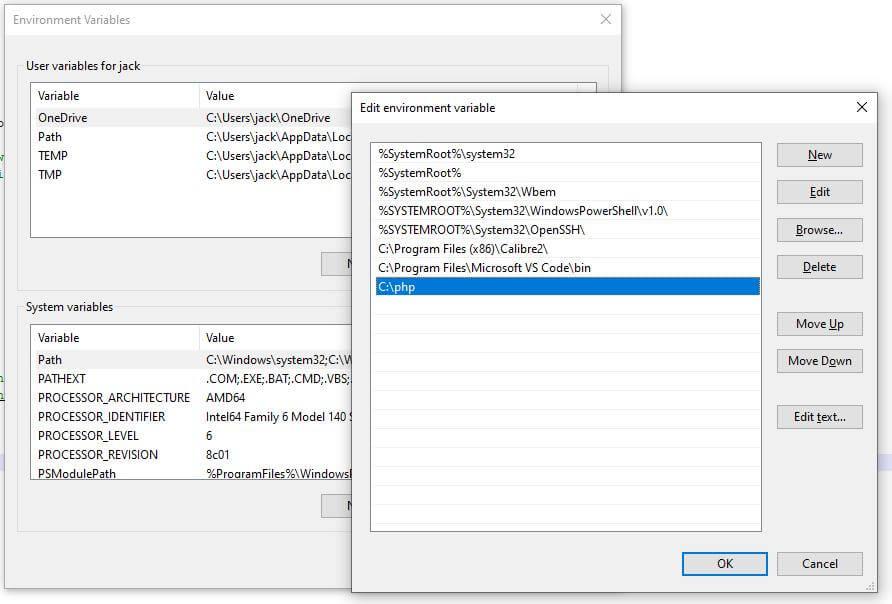
Select OK and click your way out of the dialogue boxes.
Configure Visual Studio Code
Open VS Code, and go to the extensions view (icon with 4 boxes on the left):
Search for PHP and install PHP Intelephense and PHP DocBlocker. These two extensions really help write PHP code faster.
It looks like the popular PHP Intellisense extension is abandoned as of May 2021 (github.com/felixfbecker/vscode-php-intellisense). This caused me some issues as an older computer installation was working fine with my settings, but new laptop didn’t. PHP Intelephense has all the features you want.
I also use these extensions:
- All Autocomplete – Provides autocompletion in Visual Studio Code items based on all open editors
- Error Lens – Better error highlighting
- ESLint – Provides ESLint capabilities directly in VS Code
- PHP Dockblocker – Improves Intelephense with creating phpdoc type comments
- PHP Namespace Resolver – Allows better imports of classes and resolving any namespace conflicts
Now disable VS Code’s built-in PHP IntelliSense by setting php.suggest.basic to false to avoid duplicate suggestions. Do this by opening File > Preferences > Settings and search for php again:

Done! Now you have PHP running in VS Code
Your VS Code should now handle PHP coding with aplomb, saving you some effort in both writing and syntax checking your code as you go.